

So you set up your Google Classroom, added all your students to it and now are wondering what that Generate Link does on the left hand side or it might say Join if you’ve already set things up. Check out the one pager below on how to set up and manage your Google Meet in Google Classroom, or scroll past it for a quick overview.
Getting Started with Google Meet in Google Classroom
Accessing Google Meet in the Classroom
To get started with Google Meet inside Google Classroom, head to Google Classroom. If you have not yet created your Classroom, you’ll need to do that first. Once your class is created, you can then enter it.
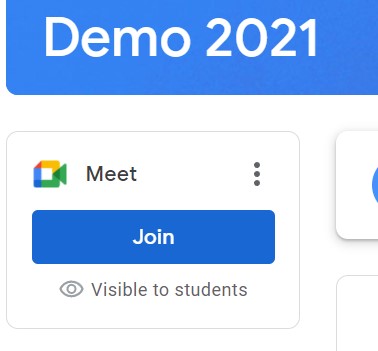
Once inside, you will see on the upper left, under the title of the Classroom, a Google Meet area. Since this is a new classroom, you’ll need to press the “Generate Link” button to set it up. If you have already set up your Google meet link before, then you will see a Join link.
Accessing Meeting Settings
Once you go into your Google Classroom Meet, and then go into the Meet its self, you will want to review the Meet Settings to make sure that things are set up correctly.
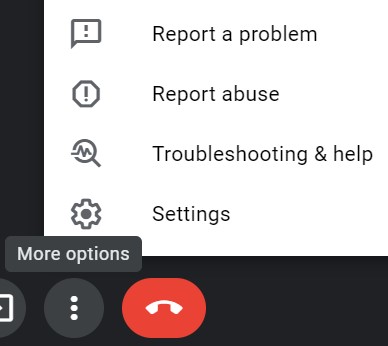
Click on the three(3) vertical dots next to the red telephone, and then press Settings to access the Google Meet settings. Note that the settings you set up here are perpetual. Meaning that once you set them, they will stay that way until you or another host changes them.
NOTE: Host controls go to any Teacher account that joins your Google Meet first. This includes TA’s as they are teacher accounts as well.
Review the Settings
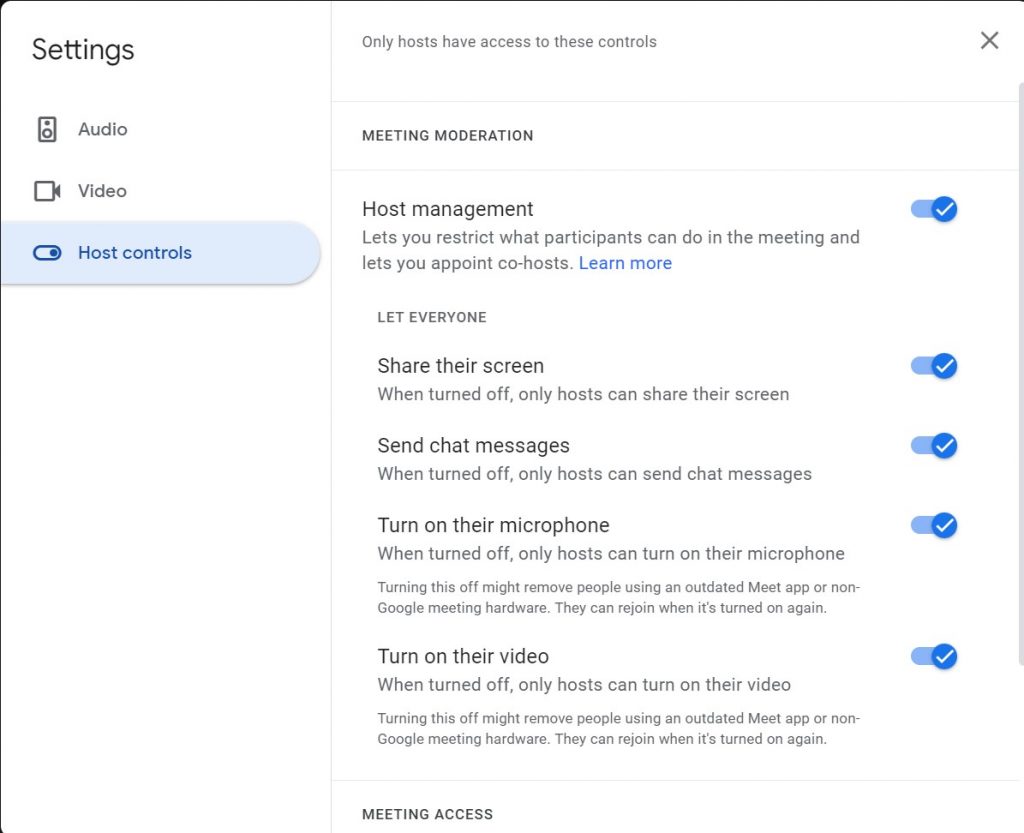
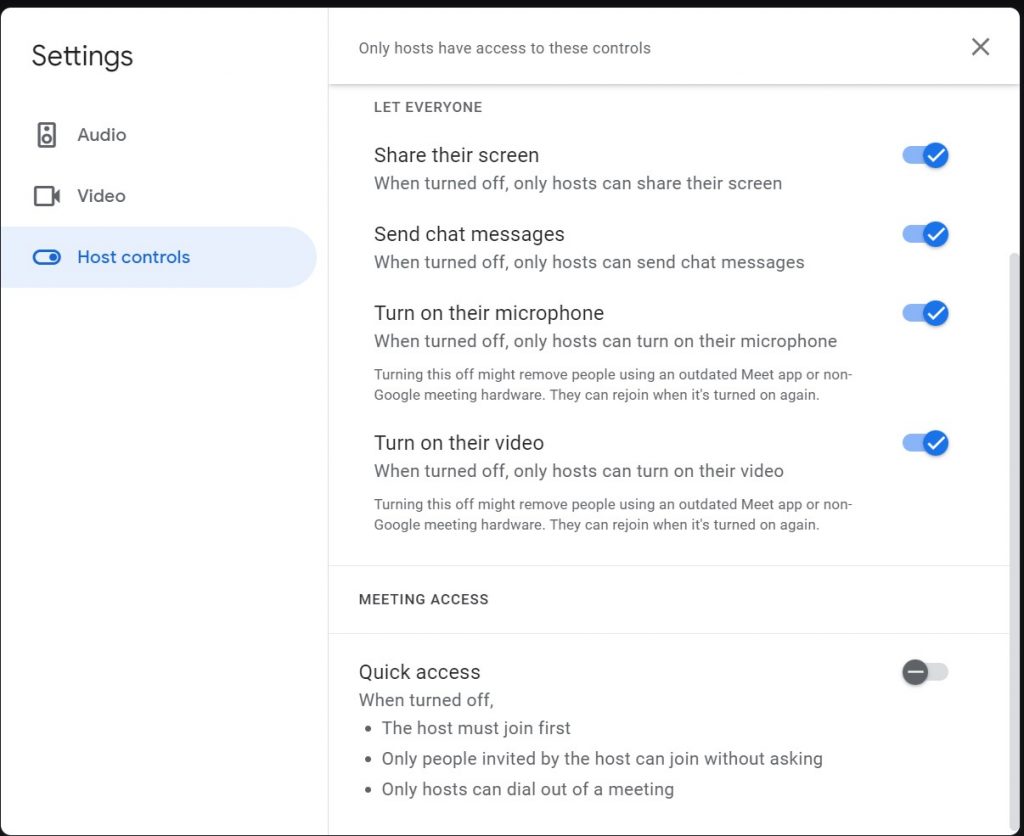
When you are in your Settings window, click on the Host Controls, to access the Host Control Settings.
Host Management: This allows you to control your meeting. The first teacher account to join the meet is always the Host. If you have a TA, ask them to wait until you have joined first.
Share Screen: This controls who is allowed to share the screen. By default, the Host is always allowed to share their screen.
Send Chat Messages: This allows the Host to turn off chat for everyone. The Host is still able to send messages to chat for all to read. This is useful if the Host needs to send a link to a particular site, video, or document they want Students to engage with.
Turn On Microphone: This allows the Host to mute the mics of everyone. This can be helpful in the case where someone has left their Mic on and there is a lot of background noise coming from them.
Turn On Video: This allows the Host to turn off the video of individuals or prevent everyone from turning on their video.
Quick Access: This should always be left off. This means that a Teacher Account needs to log in first before anyone else can join. Which ever Teacher Account logs in first will be the Host of that Google Meet. It is important that when the Host leaves the Google Meet they need to “End the Call for Everyone”. If this is not done, the Meet will stay active and students will be able to join it without a Teacher present.
Co-Host Settings
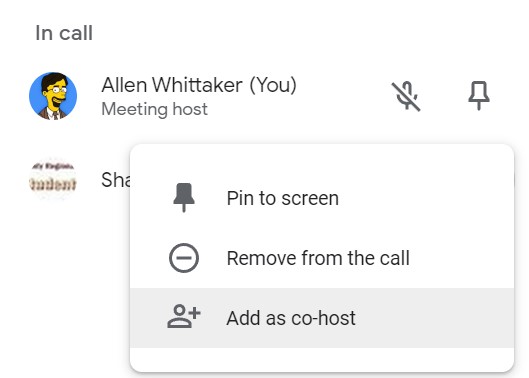
Since the first person who holds a Teacher Account has the Host Controls, and there maybe times when you need an additional Host (in the case of a co-teacher, or TA within the Meet) You, as Host have the ability to add additional Co-Hosts to the Meet.
Simply click and open the Peoples tab in the Meet. From here find the person you wish to make Co-Host. Click on the three dots next to their name and select “Add as Co-Host”. You would also follow the same process when you want to remove a co-host.
Note: The original Host (The first Teacher Account to join the Meet) can not be removed as a Host.
As always, if you have any questions, or need assistance, please reach out to Jeff Raine or Allen Whittaker and they will be happy to assist you. Also check out the eLearning site for more information.
